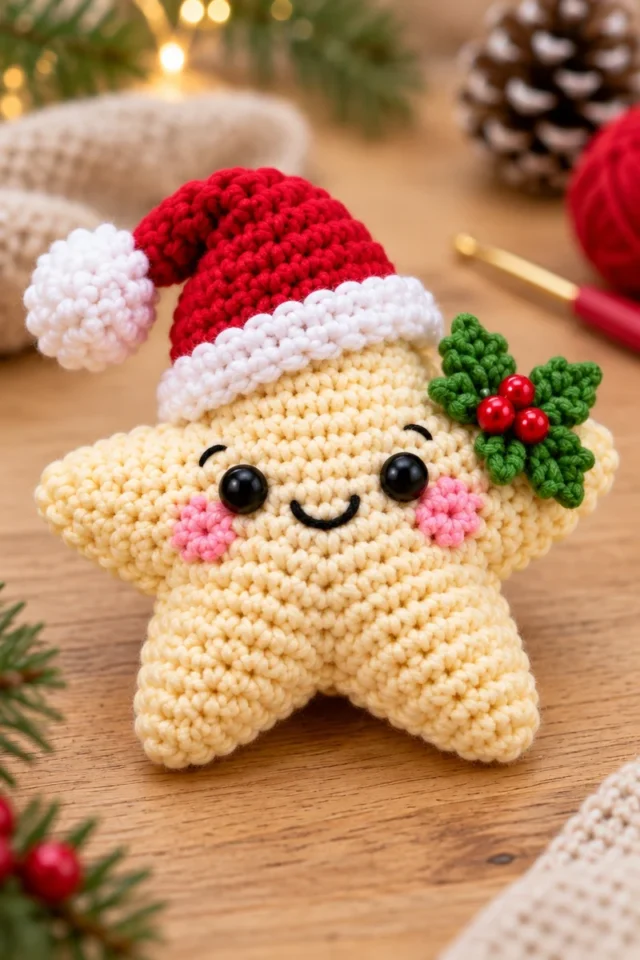
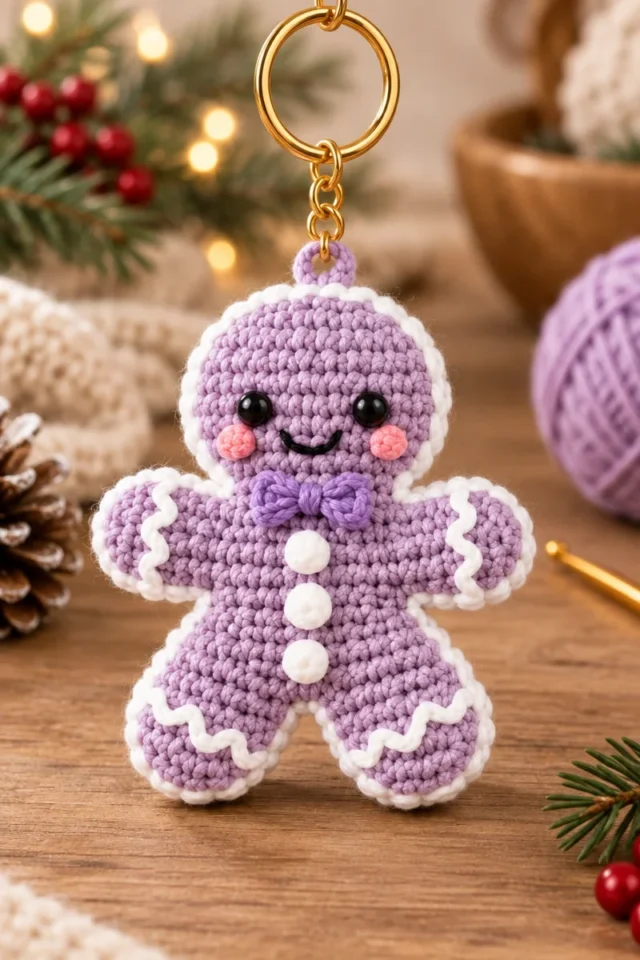
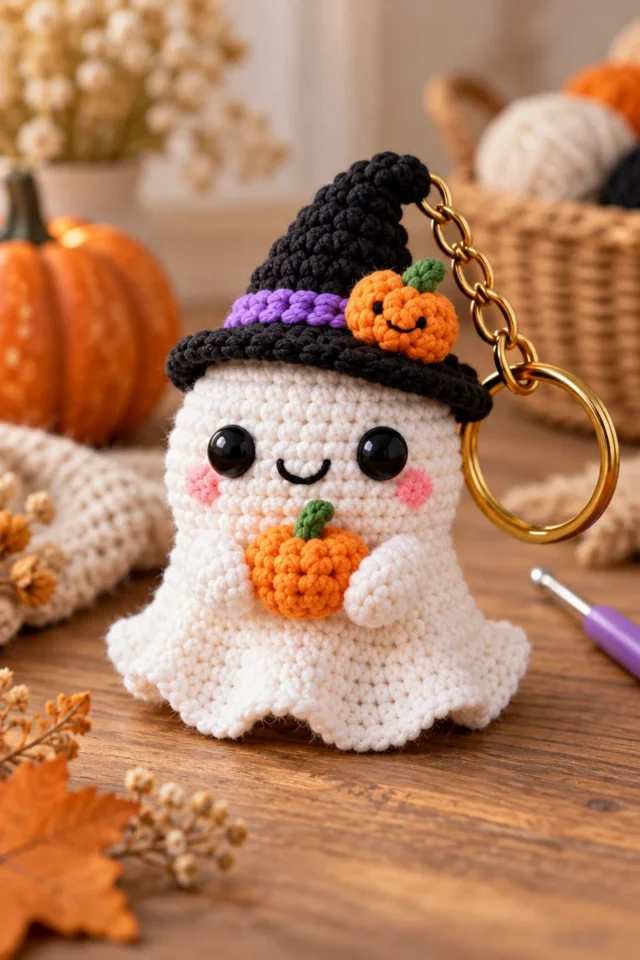
Crochet Tiny Pumpkins for Fall
This post may contain affiliate links. If you buy through them we may earn a small commission at no extra cost to you. Learn more.
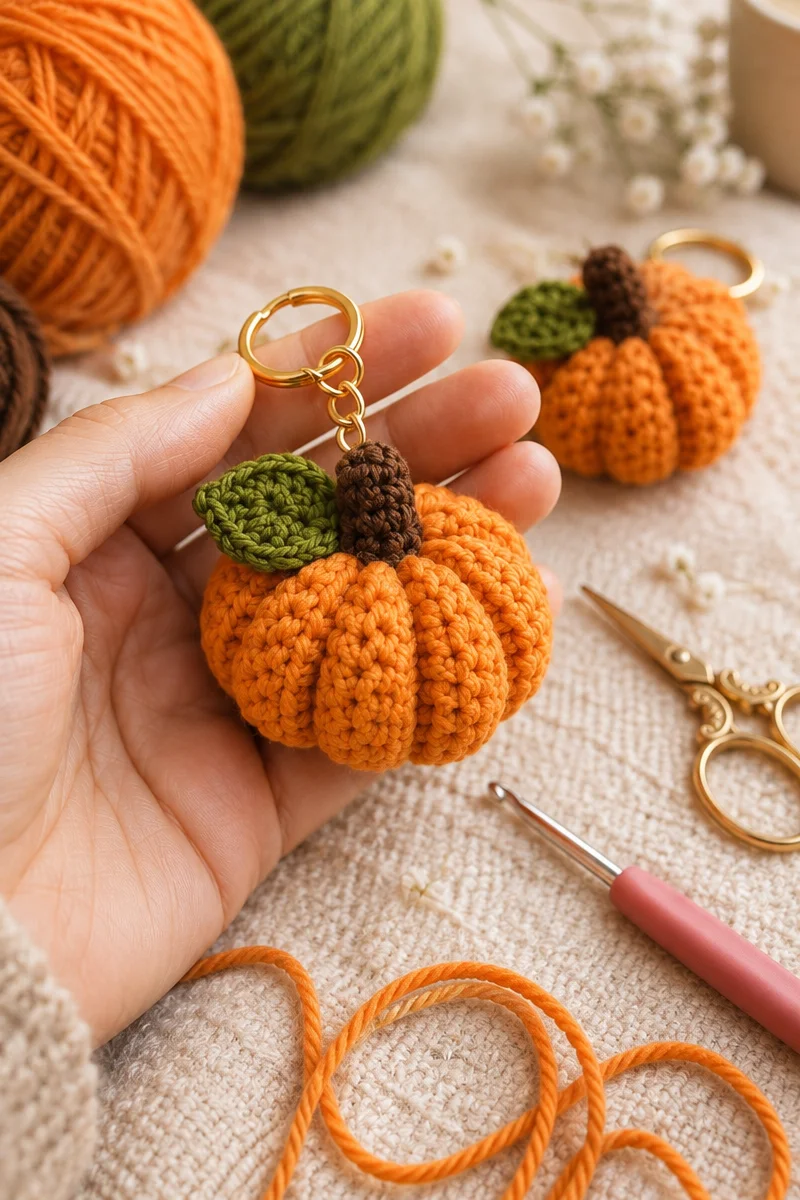
Tiny crochet pumpkins are one of those satisfying fall projects you can finish quickly and use in several ways. Each pumpkin measures about 2.75 inches in diameter, making it a charming seasonal accent for a shelf, centerpiece, gift basket, keychain, or bag charm. The simple rounded shape is suitable for beginners who are comfortable working in the round and makes a relaxing portable project for autumn evenings.
Thank you for reading this post, don't forget to subscribe!Why You’ll Love This Pattern
These tiny pumpkins are beginner-friendly because the shape comes from straightforward increases and decreases rather than complicated colorwork or textured stitches. They are also a useful way to practice a magic ring, crocheting in continuous or joined rounds, shaping, stuffing, and closing a small amigurumi-style piece.
The project is especially practical for using small amounts of leftover yarn. Make several in traditional orange, creamy white, muted green, or rustic brown for a coordinated fall display. Adding a keychain attachment turns the finished pumpkin into a lightweight seasonal accessory or handmade gift.
“This was such a fun little project! The pumpkin came together quickly, and adding a stem made it look surprisingly detailed. I’m making a whole bowlful in different colors for fall.”
How This Crochet Pattern Comes Together
You will crochet a small, rounded pumpkin from the center outward. The project begins with a magic ring, followed by rounds of increases that widen the body. Once the pumpkin reaches approximately 2.75 inches in diameter, you will lightly stuff it if desired and work decreases to close the opening.
The main techniques are crocheting in rounds, increasing, decreasing, and fastening off securely. A short crocheted chain can be added as a stem, and a keychain or bag charm loop is optional.
This is an accessible project for beginners with basic crochet experience. The exact completion time will depend on your pace, yarn thickness, and whether you add a stem or attachment.
Supplies List
- Crochet hook appropriate for your chosen yarn
- Yarn in your desired color or colors
- Scissors
- Keychain attachment or bag charm loop, optional
For a firm pumpkin with clear shaping, a smooth yarn is usually easiest to work with. Cotton or acrylic yarn can both work well, but the finished size and firmness may vary according to yarn weight and hook size. A smaller hook than the yarn label recommends can create tighter stitches and help prevent stuffing from showing.
Choose orange for a classic pumpkin, or try cream, sage, mustard, rust, or burgundy for a more modern autumn palette. If you change yarn weight or hook size, expect the finished pumpkin to become larger, smaller, thicker, or looser.
Step-by-Step Instructions
- Choose your yarn and hook. Select the yarn color for the pumpkin and prepare a crochet hook that suits the yarn. Keep your tension fairly firm so the finished piece holds its shape.
- Make a magic ring. Begin crocheting into the ring and work in rounds to form the pumpkin body. Keep the center adjustable so you can close any gap neatly.
- Shape the body with increases. Add stitches as needed during the rounds to widen the piece into a rounded pumpkin shape. Continue until it measures approximately 2.75 inches in diameter.
- Add light stuffing if desired. Once the body is complete, place a small amount of stuffing inside. Use enough to give the pumpkin gentle fullness, but avoid overfilling it, which can stretch the stitches and distort the shape.
- Close the top with decreases. Work decreases to narrow the opening. As the opening becomes small, pull the remaining yarn tight to secure the top.
- Add a stem, if desired. Crochet a few chains to create a small stem. Attach the stem securely to the top of the pumpkin and weave in the ends.
- Attach the charm hardware, if desired. Add a keychain attachment or bag charm loop, checking that it is firmly secured before using the pumpkin on a bag or set of keys.
If you work in continuous rounds, use a stitch marker to identify the beginning of each round. If you join rounds, make each join carefully so the pumpkin’s edge stays even.
Ways to Use Your Finished Project
- Arrange several pumpkins in a bowl or shallow tray as a small fall centerpiece.
- Scatter them across a mantel, bookshelf, or entryway table.
- Attach one to a handbag, backpack, zipper, or keyring as a seasonal charm.
- Add a pumpkin to a fall gift basket, hostess gift, or wrapped present.
- Make a coordinated set in different autumn colors for a craft-fair table or handmade shop listing.
- Use several sizes and shades together for a playful seasonal display, keeping in mind that different yarn weights will change the finished dimensions.
Keeping Your Crochet Looking New
Care depends on the fiber used, so always check the yarn label first. When the fiber is unknown, gentle hand washing is the safest option.
Wash the pumpkin in cool or lukewarm water with a mild detergent. Avoid vigorous rubbing, twisting, or wringing, as these actions can stretch the stitches and affect the shape. Press out excess water with a clean towel, reshape the pumpkin gently, and allow it to air-dry completely.
Do not place a stuffed pumpkin in a hot dryer unless the yarn label specifically allows it. Store finished pumpkins in a dry container away from direct sunlight, which may fade bright colors. If the pumpkin develops pilling, remove pills carefully rather than pulling at the yarn.
Helpful Crochet Tips
- Use a stitch marker at the beginning of each round to prevent losing your place.
- Count stitches after increase and decrease rounds. One accidental extra stitch can make the pumpkin look lopsided.
- Keep your tension consistent. Loose stitches may allow stuffing to show, while very tight stitches can make shaping difficult.
- Stuff gradually instead of adding a large amount at once. This makes it easier to distribute the filling evenly.
- Do not overstuff the pumpkin. Light stuffing gives the shape support without stretching the fabric.
- Check the diameter as you work so you can stop increasing when the pumpkin reaches approximately 2.75 inches.
- Pull the final opening closed firmly, but avoid pulling so aggressively that the top puckers unevenly.
- Weave in ends securely inside the pumpkin or beneath the stem.
- If attaching hardware, test the connection with a gentle tug before using the pumpkin as a bag charm or keychain.
Customize Your Project
There are several easy ways to personalize these crochet pumpkins:
- Make classic orange pumpkins, or use cream, olive, mustard, plum, or brick-red yarn for a different fall look.
- Crochet the pumpkin body in one color and add a contrasting brown, green, or black stem.
- Add simple embroidered lines from the top toward the base to suggest pumpkin ridges.
- Make a matching set in different colors for a table display or seasonal garland.
- Use a thicker yarn and a suitably sized hook for a larger pumpkin. This will increase the finished size and may require more yarn and stuffing.
- Use thinner yarn with a smaller hook for a miniature version. The stitches will be smaller, and the pumpkin may require more careful handling.
- Try textured yarn for a fuzzy or rustic effect, but remember that texture can make stitch counting and shaping harder.
- Add a secure keychain loop to one pumpkin while leaving the others as tabletop decorations.
Changing yarn weight, hook size, or stuffing amount will affect the pumpkin’s size, firmness, and overall appearance.
Frequently Asked Questions
Is this crochet pumpkin pattern beginner-friendly?
Yes. It is a good beginner project if you know how to make a magic ring and crochet in rounds. You will also practice basic increases, decreases, stuffing, and finishing.
What yarn works best for tiny crochet pumpkins?
Smooth cotton or acrylic yarn is a practical choice because the stitches are easy to see and the fabric holds its shape. The exact yarn weight is flexible, but changing yarn weight will change the finished size.
Can I use a different crochet hook size?
Yes, but the hook size affects the pumpkin’s dimensions and stitch tightness. A smaller hook usually creates denser fabric, while a larger hook may create a larger, softer, or looser pumpkin.
How much yarn do I need?
The pattern uses a small amount of yarn, making it suitable for scraps. The precise amount depends on yarn weight, hook size, stuffing, and how many pumpkins you make.
How can I make the pumpkin larger or smaller?
Use a different yarn weight and appropriately sized hook, or continue the increase rounds for a larger body. Stop increasing earlier for a smaller pumpkin. These changes will also affect the amount of yarn and stuffing required.
Why is my pumpkin curling?
Some curling is normal while the body is being shaped. If the finished piece curls excessively, check your stitch count and tension. Accidental increases or decreases can also distort the shape.
How do I keep the pumpkin evenly shaped?
Use a stitch marker, count each round, maintain steady tension, and add stuffing gradually. Turn the piece in your hands as you close it so the filling remains evenly distributed.
Can I sell pumpkins made from this pattern?
The source instructions do not state the designer’s policy on selling finished items. Check the original designer’s usage terms before listing or selling pumpkins made from the pattern.
How should I wash the finished pumpkin?
Follow the yarn-label instructions. When the fiber is unknown, hand wash gently in cool or lukewarm water, reshape while damp, and dry flat or air-dry completely.