Crochet Blanket Pattern: Bed of Roses

This post may contain affiliate links. If you buy through them we may earn a small commission at no extra cost to you. Learn more.
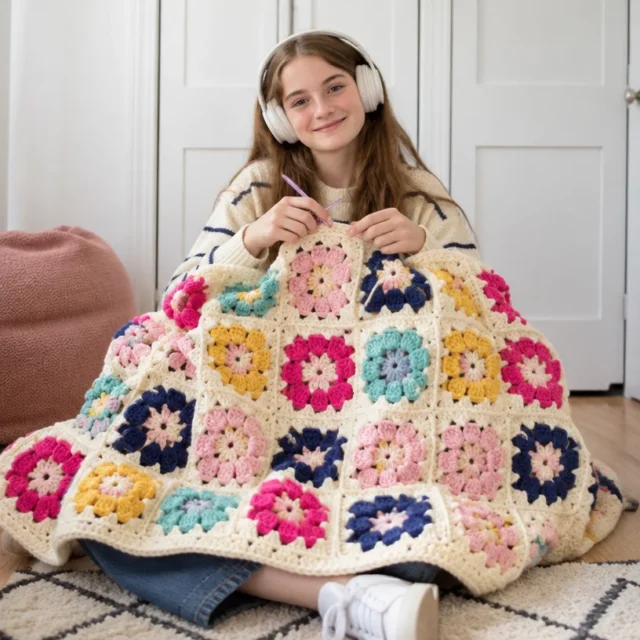
The Bed of Roses Crochet Blanket is built from 48 dimensional floral squares joined into a warm, textured throw. Each square begins as a folded-petal flower and grows outward through cluster stitches, double crochet, and treble crochet rounds. Made in sunny Cornmeal yarn, it is a satisfying project for crocheters who enjoy repeating motifs, traditional blanket construction, and decorative texture.
Thank you for reading this post, don't forget to subscribe!Why You’ll Love This Pattern
- Beautiful floral texture: The folded petals give each square a raised, rose-like appearance.
- Portable construction: Work one square at a time instead of carrying the entire blanket everywhere.
- Useful skill practice: The pattern reinforces chain spaces, cluster stitches, post-style slip stitches, decreases, corner shaping, and joining.
- Classic handmade appeal: A single-color blanket lets the sculptural stitchwork take center stage.
- Flexible finishing: The squares can be sewn into a neat 6-by-8 arrangement and finished with a decorative two-round edging.
- Excellent gift potential: A floral crochet blanket makes a thoughtful wedding, housewarming, birthday, or holiday gift.
“The floral centers made every square feel special, and I enjoyed watching the blanket grow as I joined each strip. The texture is even prettier in person.”
How This Crochet Blanket Comes Together
You will crochet 48 identical squares, each worked in eight rounds. The first rounds form eight petals, while later rounds square off the motif with four corners. Several rounds require you to fold the petals or the previous round toward you and work around stitch posts; this creates the blanket’s dimensional rose effect.
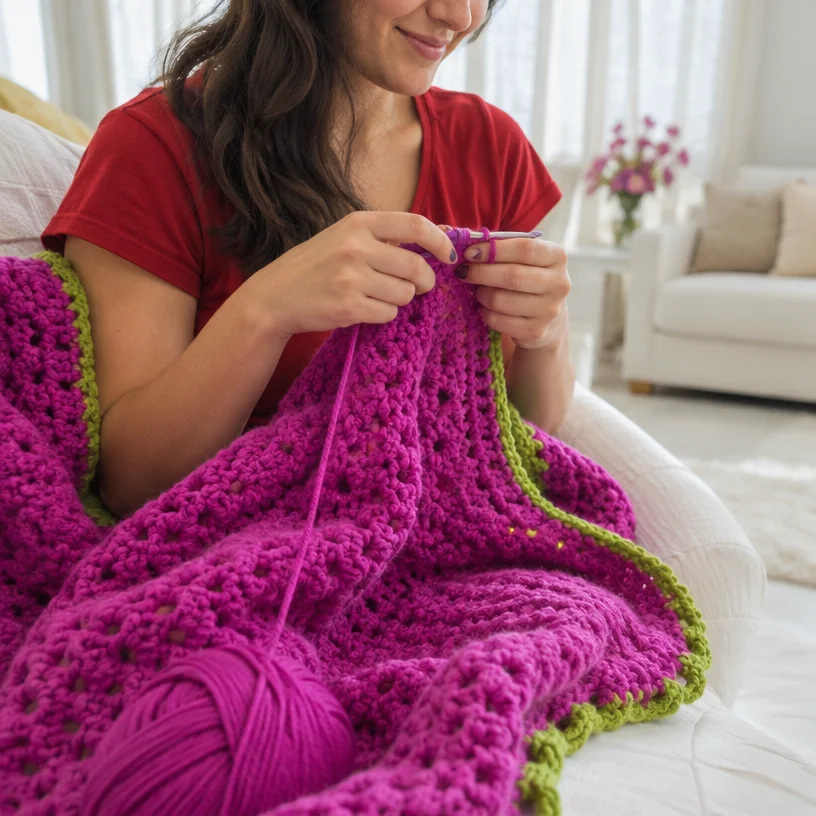
Once the squares are complete, sew them into six strips of eight squares. Sew the strips together to form the blanket body, then add the two-round edging around the outside.
The pattern uses single crochet, double crochet, treble crochet, chain spaces, 4-stitch clusters, single crochet decreases, and post-style slip stitches. It is best suited to an intermediate crocheter, although a confident beginner can follow it carefully with practice. Completion time depends on tension, experience, and how often you crochet.
Materials You’ll Need
- Yarn: RED HEART Super Saver, 7 oz/198 g skeins, approximately 364 yd/333 m each
- Fiber: Acrylic
- Quantity: 8 skeins
- Color: #320 Cornmeal
- Crochet hook: Size I/9 (5.5 mm), or the size needed to obtain the correct gauge
- Notions: Yarn needle
Helpful material notes
RED HEART Super Saver is a practical acrylic choice for a blanket because it is durable, widely available, and easy to care for. If you substitute yarn, choose a similar worsted-weight acrylic with a comparable yardage and texture. A different yarn weight can change the square size, blanket dimensions, drape, and total yarn requirement.
A contrasting yarn may be used for the edging, but you will need to purchase it separately and check that the color change complements the main shade.
Step-by-Step Instructions
Abbreviations
- ch: chain
- sl st: slip stitch
- sc: single crochet
- dc: double crochet
- tr: treble crochet
- sp: space
- sc2tog: single crochet 2 together
- CL: cluster stitch
- P-st: puff stitch, following the pattern’s established puff-stitch technique
Make 48 squares.
Make the squares
-
Form the center ring.
Chain 5. Join with a slip stitch in the first chain to form a ring. -
Round 1 — Make the petals.
Chain 1. Work the following sequence 8 times in the ring:
[sc, ch 2, tr, ch 2]
Join with a slip stitch in the first single crochet.
You should have 8 petals. -
Round 2 — Fold the petals.
Fold the petals toward you. Work the following sequence 8 times:
[ch 2, sl st around the post of the next sc]
You should have 8 chain-2 spaces. -
Round 3 — Add petal clusters and corners.
Slip stitch into the first chain-2 space. Chain 4, which counts as 1 treble crochet. Work 3CL in the same chain-2 space, chain 4, then work 4CL in the next chain-2 space.Chain 2. Repeat the following sequence 3 times:
[4CL in the next ch-2 sp, ch 4, 4CL in the next ch-2 sp, ch 2]Join with a slip stitch in the beginning 3CL.
You should have 8 petals and 4 corner chain-4 spaces. -
Round 4 — Begin shaping the square.
Slip stitch into the first corner chain-4 space. Chain 3, which counts as 1 double crochet. Work(2 dc, ch 2, 3 dc)in the same corner space.Work 1 double crochet in each of the next 4CL. Work 3 double crochets in the next chain-2 space, then work 1 double crochet in each of the next 4CL.
Repeat the following sequence 3 times:
- Work
(3 dc, ch 2, 3 dc)in the next corner chain-4 space. - Work 1 dc in each of the next 4CL.
- Work 3 dc in the next chain-2 space.
- Work 1 dc in each of the next 4CL.
Join with a slip stitch in the third chain of the beginning chain-3.
- Work
-
Round 5 — Build the square sides.
Chain 3, which counts as 1 double crochet. Work 1 dc in each of the next 2 dc.Repeat the following sequence 3 times:
- Work
(2 tr, ch 2, 2 tr)in the next corner chain-2 space. - Work 1 dc in each of the next 11 dc.
Finish the round by working
(2 tr, ch 2, 2 tr)in the next corner chain-2 space, followed by 1 dc in each of the last 8 dc.Join with a slip stitch in the third chain of the beginning chain-3.
- Work
-
Round 6 — Add shaping with decreases.
Slip stitch into the first dc. Chain 3, which counts as 1 dc. Work 2 dc in the same dc, then work sc2tog over the next 2 dc.Repeat the following sequence 3 times:
- Work
(3 dc, ch 1, 3 dc)in the next corner chain-2 space. - Work the following sequence 4 times:
[sc2tog over the next 2 dc, 3 dc in the next dc] - Work sc2tog over the next 2 stitches.
Finish by working
(3 dc, ch 1, 3 dc)in the last corner chain-2 space. Work the following sequence 3 times:
[sc2tog over the next 2 dc, 3 dc in the next dc]Work sc2tog over the last dc and the slip stitch of Round 5. Do not join.
- Work
-
Round 7 — Fold the shaping round.
Fold the last round toward you. Chain 3, then slip stitch around the post of the next sc2tog.Repeat the following sequence 3 times:
- Chain 5 for the corner.
- Slip stitch around the post of the next sc2tog.
- Repeat
[ch 3, sl st around the post of the next sc2tog]4 times.
Finish by chaining 5 for the corner, slip stitching around the post of the next sc2tog, then repeating
[ch 3, sl st around the post of the next sc2tog]3 times.Do not join.
-
Round 8 — Complete the square.
Slip stitch into the first chain-3 space. Chain 4, which counts as 1 treble crochet. Work 2 tr in the same chain-3 space.Work
(4 tr, ch 3, 4 tr)in the next corner chain-5 space.Repeat the following sequence 3 times:
- Work 3 tr in each of the next four chain-3 spaces.
- Work
(4 tr, ch 3, 4 tr)in the next corner chain-5 space.
Finish by working 3 tr in each of the next three chain-3 spaces.
Join with a slip stitch in the fourth chain of the beginning chain-4. Fasten off.
-
Repeat the square.
Make a total of 48 squares. Keep the same side facing upward while checking your motifs so the petals and corners are oriented consistently.
Assemble the blanket
- Arrange the squares into 6 strips of 8 squares.
- Sew the squares together within each strip.
- Sew the six strips together.
- Check that the floral motifs face the same direction and that the seams lie flat before adding the edging.
Add the Edging
Work with the right side facing.
Edging Round 1
- Join the yarn with a slip stitch in the treble crochet before any corner chain-3 space.
- Chain 3, which counts as 1 dc.
- Work
(3 dc, ch 3, 3 dc)in the next corner chain-3 space. - Work the following sequence 5 times:
[dc in the next 20 tr, 2 dc in the next ch-3 sp, 1 dc in the seam, 2 dc in the next ch-3 sp] - Work 1 dc in the next 20 tr.
- Work
(3 dc, ch 3, 3 dc)in the next corner chain-3 space. - Work the following sequence 7 times:
[dc in the next 20 tr, 2 dc in the next ch-3 sp, 1 dc in the seam, 2 dc in the next ch-3 sp] - Work 1 dc in the next 20 tr.
- Repeat the first side sequence once more, then repeat the second side sequence once more as written in the original round.
- End with 1 dc in the last 19 stitches.
- Join with a slip stitch in the third chain of the beginning chain-3.
Edging Round 2
- Chain 1.
- Work 1 sc in the same stitch as the joining slip stitch.
- Chain 3.
- Work the following sequence around the first side:
- Work a P-st in the next corner chain-3 space.
- Chain 2 and skip the next dc.
- Repeat
[sc in the next dc, ch 3, skip the next 2 dc, P-st in the next dc, ch 2, skip the next 2 dc]25 times. - Work 1 sc in the next dc, then chain 3.
- Work the corresponding corner and side sequence along the next side:
- Work a P-st in the next corner chain-3 space.
- Chain 2 and skip the next dc.
- Repeat
[sc in the next dc, ch 3, skip the next 2 dc, P-st in the next dc, ch 2, skip the next 2 dc]33 times. - Work 1 sc in the next dc, then chain 3.
- Repeat the first side sequence once more and the second side sequence once more.
- Join with a slip stitch in the first sc.
- Fasten off.
Weave in all ends securely with a yarn needle.
Ways to Use Your Finished Blanket
- Drape it over a sofa or reading chair as a decorative throw.
- Fold it at the foot of a bed for an extra layer of warmth.
- Give it as a housewarming, wedding, anniversary, or birthday gift.
- Use the Cornmeal shade as a cheerful accent in a neutral room.
- Photograph the raised floral texture for a handmade shop listing or craft-fair display.
- Pair it with coordinating cushions or a smaller floral motif project for a welcoming room set.
How to Care for Your Crochet Blanket
Because the blanket uses acrylic yarn, it is generally easy to maintain, but always check the yarn label before washing.
- Wash according to the label instructions, using cool or warm water as recommended.
- Choose a gentle cycle if machine washing.
- Use a mild detergent and avoid bleach unless the label specifically permits it.
- Do not overload the washer; a heavy blanket needs room to move without excessive stretching.
- Reshape the blanket while damp and dry it flat when possible.
- Avoid high heat, which can flatten the texture or partially melt acrylic fibers.
- Do not hang the wet blanket, as its weight may stretch the seams.
- Store it clean and completely dry in a breathable cupboard or fabric storage bag.
- Keep it away from rough surfaces and excessive friction to reduce pilling.
Helpful Crochet Tips
- Make a gauge swatch first. The recommended hook is 5.5 mm, but your tension may require a different size.
- Mark the right side. The folded-petal rounds can make the front and back look confusing, especially when joining many squares.
- Count the petals in Round 1. There must be exactly 8 petal sections before moving on.
- Identify the four corners early. In later rounds, corner spaces are larger and should remain evenly distributed.
- Take care with folded rounds. Fold the petals or Round 6 toward you as instructed; this positioning creates the dimensional design.
- Watch the decreases in Round 6. Missing an sc2tog can make the square ripple or become too large.
- Do not force the square flat while crocheting. The flower center is intentionally dimensional. Gentle blocking later will even out the completed motif.
- Join consistently. Use the same sewing method and stitch placement for every seam so the blanket does not twist.
- Lay out all squares before sewing. This makes it easier to correct an incorrectly oriented motif.
- Secure ends firmly. Weave each end through several nearby stitches, then change direction before trimming.
Creative Variations
- Use a multicolor palette: Make the petals, square body, and edging in coordinated shades. Color changes will increase the number of ends to weave in.
- Add a contrasting edging: A deep green, cream, rust, or burgundy border can emphasize the rose-like texture.
- Create a seasonal blanket: Try warm rust and gold for autumn, soft pastels for spring, or icy blue and white for winter.
- Change the overall size: Make fewer or more squares, arranging them in a different grid. This changes the blanket dimensions and the amount of yarn required.
- Use a different yarn weight: A lighter yarn creates a thinner, smaller blanket, while a thicker yarn creates a heavier, larger one. You will need to reassess the hook size, gauge, and yardage.
- Add embroidery: Small embroidered leaves or French knots in the flower centers can add detail, though they may affect the blanket’s washability.
- Make a coordinating set: Use the same Cornmeal shade for cushion covers, table runners, or smaller floral accessories.
Frequently Asked Questions
Is this crochet blanket beginner-friendly?
It is most suitable for an intermediate crocheter because it includes cluster stitches, decreases, folded rounds, and post-style slip stitches. A confident beginner can learn it by working slowly and checking each round carefully.
How much yarn does the pattern require?
The pattern calls for 8 skeins of RED HEART Super Saver in #320 Cornmeal. Each skein is approximately 364 yards or 333 meters.
Can I use a different hook size?
Yes. Use another hook size if needed to obtain the correct gauge. A larger hook may create a looser, larger square, while a smaller hook may produce a denser, smaller square.
What should I do if my square curls?
Some curling is normal while the dimensional rounds are being worked. Check your stitch counts, especially the corners and Round 6 decreases. If the completed square remains uneven, gentle blocking can help shape it.
How do I keep all the squares the same size?
Maintain even tension, use the same hook throughout, and compare each completed square with the first one. Block the squares to a consistent size before assembly if necessary.
How can I make the blanket larger?
Make additional squares and arrange them in a larger grid, or use a thicker yarn. Adding squares is the most predictable option, but it will increase yarn requirements and finishing time.
Does the edging have to be worked in the same color?
No. A contrasting edging can highlight the corners and textured floral motifs. Make sure the substitute yarn has a similar weight so the border does not pull the blanket out of shape.
How should I wash the finished blanket?
Follow the care instructions on the RED HEART Super Saver label. Gentle washing, mild detergent, low heat or flat drying, and careful reshaping will help protect the acrylic texture and seams.
Can I sell blankets made from this pattern?
The provided pattern information does not state its finished-item licensing terms. Check the original designer’s usage policy before selling completed blankets, and credit the designer when required.