C2C Chevron Crochet Blanket Pattern with Bias Panels
This post may contain affiliate links. If you buy through them we may earn a small commission at no extra cost to you. Learn more.
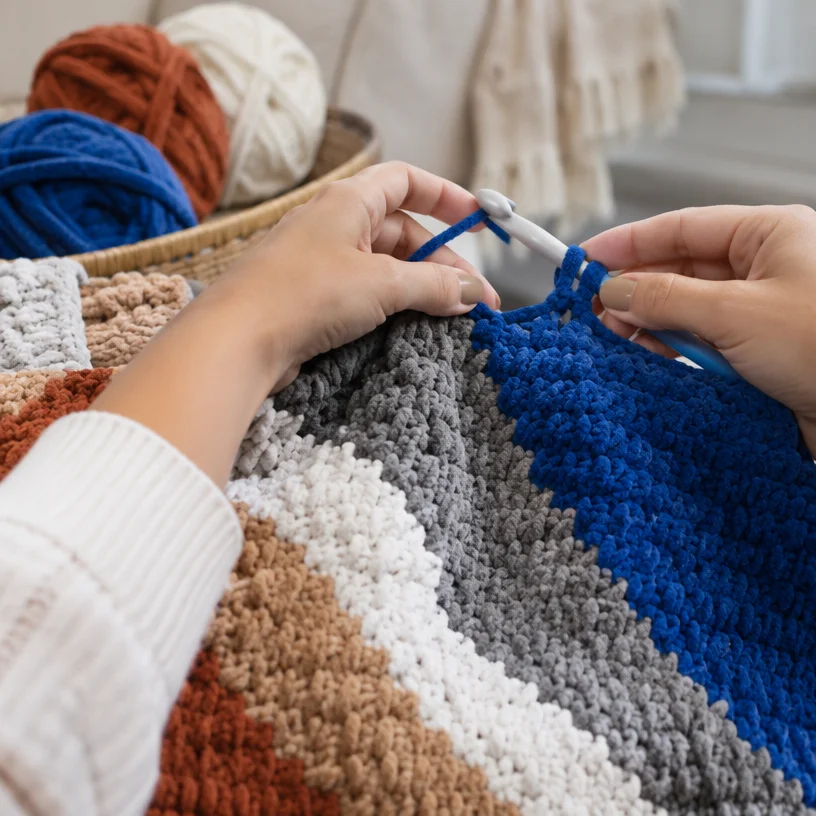
This Bias Panels C2C Chevron Crochet Blanket is built from three diagonal corner-to-corner panels joined into one striking striped design. The combination of chunky Bernat Blanket O’Go yarn, simple crochet blocks, and bold color changes makes it both relaxing to work and visually impressive. It is a good choice for crocheters who know basic double crochet and want to practice C2C construction without managing one oversized piece from the beginning.
Thank you for reading this post, don't forget to subscribe!Why You’ll Love This Pattern
- The blanket is made in three manageable panels. Smaller sections are easier to carry and keep organized than one large blanket.
- C2C blocks create the chevron effect. The diagonal construction produces graphic stripes without complicated shaping.
- The stitch pattern is repetitive. Once the first few rows are comfortable, the panel rhythm becomes easy to follow.
- The bulky yarn works up quickly. Bernat Blanket O’Go creates a soft, warm fabric with strong color impact.
- It makes a thoughtful handmade gift. The finished blanket is suitable for a sofa, reading chair, guest room, or cozy winter gift.
- The color changes add visual interest. Each panel has its own assignment, while the joined panels create a coordinated overall design.
“The panels made this blanket much easier to manage than I expected. The C2C blocks became very intuitive, and taking time to match the stripes during joining made a huge difference.”
How This Crochet Blanket Comes Together
The blanket consists of three diagonal C2C motifs. Each motif is crocheted from one corner, increased to its widest point, worked with even sides, and then decreased toward the opposite corner.
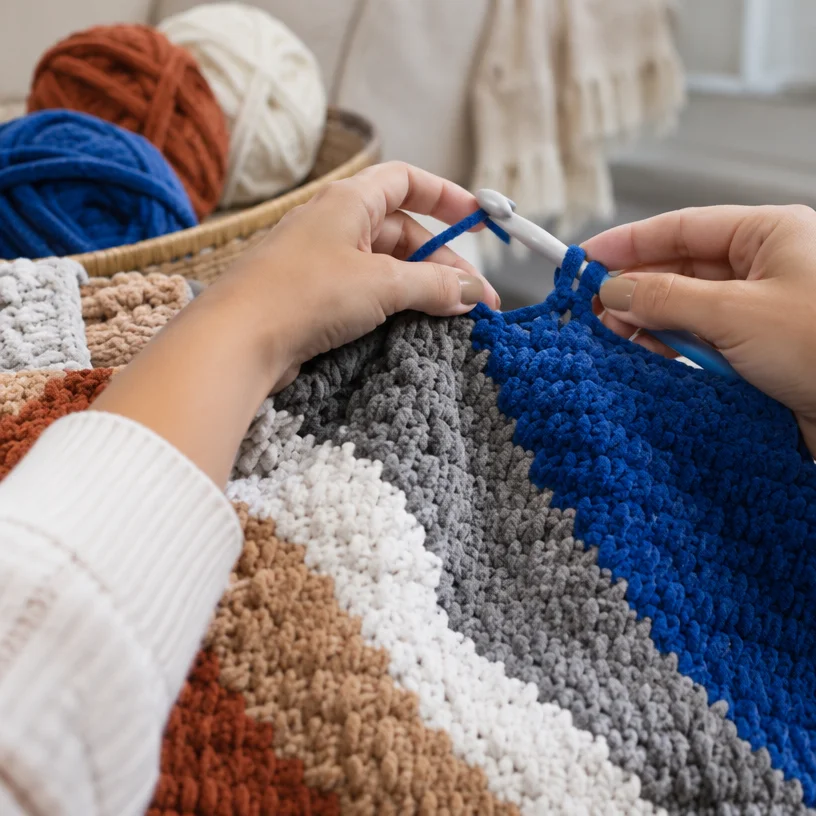
A C2C block is made with a chain-3 space and three double crochet stitches. The beginning block uses a chain-6 and double crochet stitches. Each square on the chart represents one block, so the chart controls the color changes as well as the striped design.
You will make one panel in each color arrangement:
- Panel 1: Color 1 is A, Color 2 is D, Color 3 is E
- Panel 2: Color 1 is B, Color 2 is G, Color 3 is F
- Panel 3: Color 1 is C, Color 2 is H, Color 3 is E
After crocheting the three panels, sew them together with the correct right-side and wrong-side orientation. Finish the top and bottom edges with three-color fringe.
The pattern is best suited to an advanced beginner or intermediate crocheter who understands chain stitches, slip stitches, double crochet, turning, and basic color changes. The bulky yarn and repeated blocks help the project progress steadily, although the three panels and finishing work require careful organization.
Materials You’ll Need
- Bernat® Blanket™ O’Go™, 10.5 oz/300 g; 220 yds/201 m:
- Atlantic (42017): 2 O’Gos
- Hibernate (42003): 3 O’Gos
- Tiramisu (42030): 3 O’Gos
- U.S. L/11 (8 mm) crochet hook, or the size needed to obtain gauge
- Yarn needle
Bernat Blanket O’Go is a bulky, soft yarn designed for warm and plush projects. The O’Go format can make color handling convenient, but keep the designated color groups clearly separated while following the chart.
A different bulky yarn may be possible, but changing yarn weight or fiber content can affect the blanket’s size, drape, thickness, and yardage. Always make a gauge swatch if substituting yarn.
Step-by-Step Instructions
Understand the color changes
To change colors, work the stitch until the last 2 loops remain on the hook. Draw the new color through the last 2 loops, then continue in the new color.
Keep the chart nearby as you work. Each chart square represents one C2C block.
Make the three panels
Make one panel in each of the following color arrangements:
- Panel 1: Color 1 is A, Color 2 is D, and Color 3 is E.
- Panel 2: Color 1 is B, Color 2 is G, and Color 3 is F.
- Panel 3: Color 1 is C, Color 2 is H, and Color 3 is E.
For every panel, begin with Color 1.
Start the panel
- Chain 6.
- First row, right side: Work 1 double crochet in the fourth chain from the hook; this counts as 2 double crochets. Work 1 double crochet in each of the last 2 chains.
- Turn. You now have 1 block.
Build the first blocks
- Second row: Chain 6.
- Work 1 double crochet in the fourth chain from the hook.
- Work 1 double crochet in each of the next 2 chains. This forms the beginning block.
- In the next chain-3 space, work (slip stitch, chain 3, 3 double crochets) to make the next block.
- Turn. You now have 2 blocks.
- Third row: Make a beginning block.
- Work a block in each chain-3 space across the row.
- Turn. You now have 3 blocks.
Work the increase phase
- Continue the established C2C row pattern, keeping track of the color changes shown on the chart.
- Increase according to the chart until the 14th row is complete.
- The 14th row contains 14 blocks.
Keep the sides even
- 15th row: Slip stitch in each of the first 3 double crochets. Work a block in each remaining chain-3 space across the row. Turn.
- 16th row: Make a beginning block. Work a block in each chain-3 space up to the last chain-3 space. Slip stitch in the last chain-3 space; do not make a block there. Turn.
- Repeat the 15th and 16th rows 10 more times, continuing the color changes shown on the chart. This completes rows 17 through 36.
The slip stitch at the end of the even-side rows prevents the panel from increasing. Check the edge after each row so you do not accidentally add an extra block.
Decrease the corner
- 37th row: Slip stitch in each of the first 3 double crochets.
- Work a block in each chain-3 space up to the last chain-3 space.
- Slip stitch in the last chain-3 space. Do not make a block there. Turn.
- Continue repeating the decrease row while following the chart.
- Keep decreasing until only 1 block remains.
- Fasten off.
Repeat the complete panel instructions for Panels 2 and 3 using their assigned color arrangements.
Join the panels
- Use a yarn color that matches the nearby stripes.
- Sew the three panels together as shown in the assembly diagram.
- Position Panel 2 mirrored with the wrong side facing.
- Keep Panels 1 and 3 with the right side facing.
- Align the panel edges and match the stripes carefully.
- Sew with even stitches and keep the seams hidden on the wrong side.
- Weave in the joining ends securely.
Before sewing the full seams, pin or lightly tack the panels together. This makes it easier to confirm the chevron direction and stripe placement.
Add the fringe
- Cut strands of D, E, and F measuring 10 inches (25.5 cm) long.
- Take one strand of D, one strand of E, and one strand of F.
- Hold the three strands together and fold them in half.
- Knot the folded strands around the last stitch at the end of each row along the top and bottom edges.
- Along the bottom edge, the row ends will be either a chain-3 or a double crochet stitch.
- Along the top edge, the row ends will be either a chain-3 or the center double crochet of a block.
- Use the stitch diagram to confirm the fringe placement.
- Trim the fringe evenly.
A ruler or piece of cardboard makes it easier to cut consistent fringe strands and create a neat finished edge.
Ways to Use Your Finished Blanket
- Drape it over a sofa or armchair as a warm decorative layer.
- Fold it at the foot of a bed for extra texture and color.
- Keep it in a reading corner or on a porch chair for cool evenings.
- Give it as a handmade housewarming, birthday, wedding, or winter gift.
- Use it as a cozy guest-room blanket.
- Photograph it for a handmade shop or craft-fair display, provided the original pattern’s selling terms allow finished items to be sold.
The diagonal stripes make the blanket a strong focal point, so simple neutral furniture and accessories will let the crochet design stand out.
How to Care for Your Crochet Blanket
Bernat Blanket O’Go care should be checked against the label on the yarn you use. For the safest results:
- Wash according to the yarn-label instructions.
- Use cool or lukewarm water and a gentle cycle if machine washing is permitted.
- Avoid harsh bleach and high heat.
- Support the blanket when removing it from the washer so the wet fabric does not stretch.
- Reshape the panels and edges while damp.
- Dry flat when possible, especially if the blanket feels heavy when wet.
- Do not hang the blanket for long periods, as its weight may pull the stitches out of shape.
- Store it clean and completely dry.
- Fold rather than compressing it tightly.
- Keep it away from rough surfaces that can increase pilling.
Because the blanket uses several strong colors, test for color transfer before washing if you have substituted yarn or are uncertain about the fiber content.
Helpful Crochet Tips
- Track the chart and the written rows together. The written instructions explain construction, while the chart controls the color sequence.
- Count blocks, not just stitches. At the widest increase point, the row should contain 14 blocks.
- Mark the right side. A removable stitch marker or safety pin can prevent confusion when turning panels.
- Keep chain lengths consistent. Uneven chain-3 spaces can make the panel edges wavy.
- Do not add a block at the decrease edge. The final slip stitch replaces the block and keeps the corner from growing.
- Change colors cleanly. Make the color change through the final 2 loops of the stitch so the new color begins neatly.
- Lay each panel flat regularly. This helps you spot accidental increases, missed blocks, or a reversed color sequence early.
- Leave enough yarn for joining. Do not trim every end too short before checking the panel orientation.
- Match stripes before sewing. A few extra minutes of alignment can make the finished seams look much more professional.
- Secure all ends firmly. Bulky yarn can work loose if ends are woven only a short distance.
Customize Your Crochet Blanket
The panel construction makes this blanket easy to personalize while preserving its basic shape.
- Change the palette: Use three main color families for a coordinated look, or choose high-contrast shades for a stronger chevron effect.
- Use seasonal colors: Try warm rusts and golds for autumn, icy blues and white for winter, or soft greens and creams for spring.
- Create a quieter design: Select shades with similar value for a more blended stripe effect.
- Add a border: A simple border can frame the joined panels, but it will change the yarn requirement and may slightly alter the final dimensions.
- Adjust the size: Make each panel smaller or larger by changing the increase, even-side, and decrease sections proportionally. This requires recalculating the chart and color placement.
- Use a different bulky yarn: This may change the drape, density, measurements, and amount of yarn needed.
- Coordinate accessories: Use leftover colors for cushions or small matching lap blankets, adjusting the pattern to suit the project.
The fringe is part of the original look, but you can omit it for a cleaner finish or replace it with a short single-color fringe.
Frequently Asked Questions
Is this blanket pattern beginner-friendly?
It is suitable for an advanced beginner who understands basic crochet stitches. The C2C block technique is repetitive, but beginners should be comfortable with double crochet, slip stitches, turning, and color changes before starting.
What does C2C mean in crochet?
C2C means “corner to corner.” The fabric is worked diagonally from one corner, with blocks added during the increase phase and removed during the decrease phase.
How many panels do I need to make?
Make three panels: one Panel 1, one Panel 2, and one Panel 3. The panels are joined during finishing.
How much yarn does the pattern require?
The pattern uses Bernat Blanket O’Go as follows:
- Atlantic: 2 O’Gos
- Hibernate: 3 O’Gos
- Tiramisu: 3 O’Gos
Each O’Go is listed as 10.5 oz/300 g and 220 yds/201 m.
Can I use a different hook size?
Yes, but the hook size may affect the fabric and finished dimensions. The stated hook is U.S. L/11, or 8 mm, unless another size is needed to obtain gauge. A smaller hook usually creates denser fabric, while a larger hook creates a looser, drapier fabric.
How do I keep the panel edges even?
Follow the even-side and decrease instructions carefully. The slip stitch at the end of the row is important because it prevents an additional block from being formed. Counting blocks after each row also helps catch mistakes early.
Why are my edges becoming wavy?
Wavy edges can result from loose or inconsistent chain stitches, accidental extra blocks, or uneven tension. Lay the panel flat and compare the number of blocks with the chart. Blocking or gentle reshaping may improve minor unevenness, but it will not correct missing or added blocks.
Can I make the blanket larger or smaller?
You can adjust the size by changing the number of increase, even, and decrease rows, but the color chart will also need to be adapted. A size change will affect the amount of yarn required and may alter the chevron proportions.
Do I have to add the fringe?
No. The fringe is included in the finishing instructions, but you may omit it for a simpler edge. If you add it, use one strand each of D, E, and F together for every fringe bundle.
How should I join Panel 2?
Panel 2 must be mirrored with the wrong side facing. Panels 1 and 3 are positioned with the right side facing. Check the assembly layout and match the stripes before sewing.
Can I sell a blanket made from this pattern?
The provided instructions do not state the designer’s terms for selling finished items. Check the original pattern source or designer’s usage policy before listing or selling the completed blanket.