Crochet Baby Bonnet Pattern for Beginners
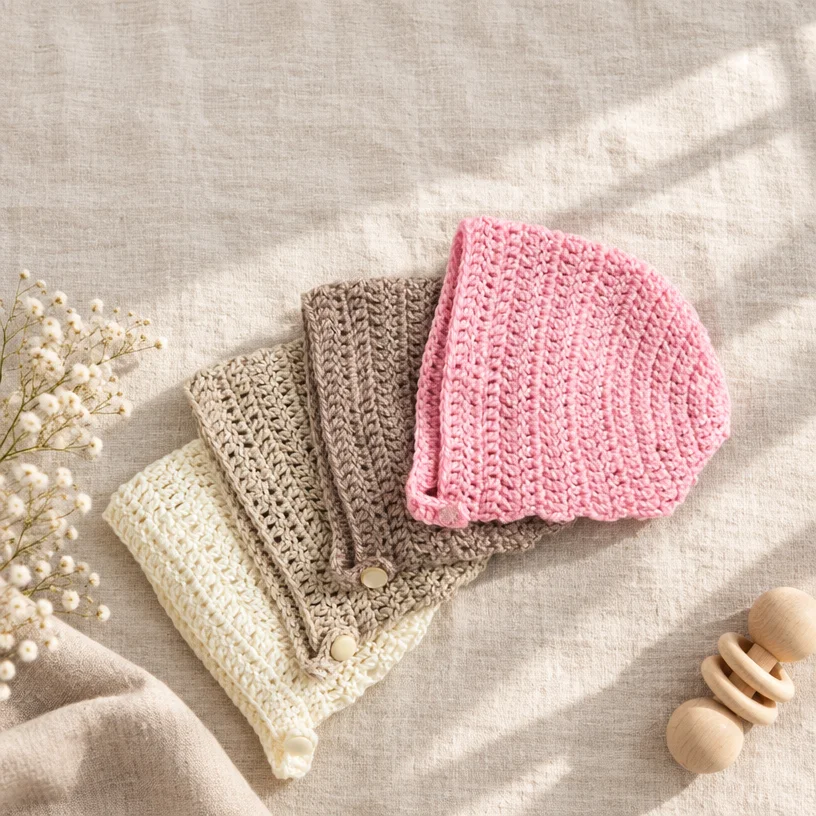
This post may contain affiliate links. If you buy through them we may earn a small commission at no extra cost to you. Learn more.
A Charming Journey into Crochet
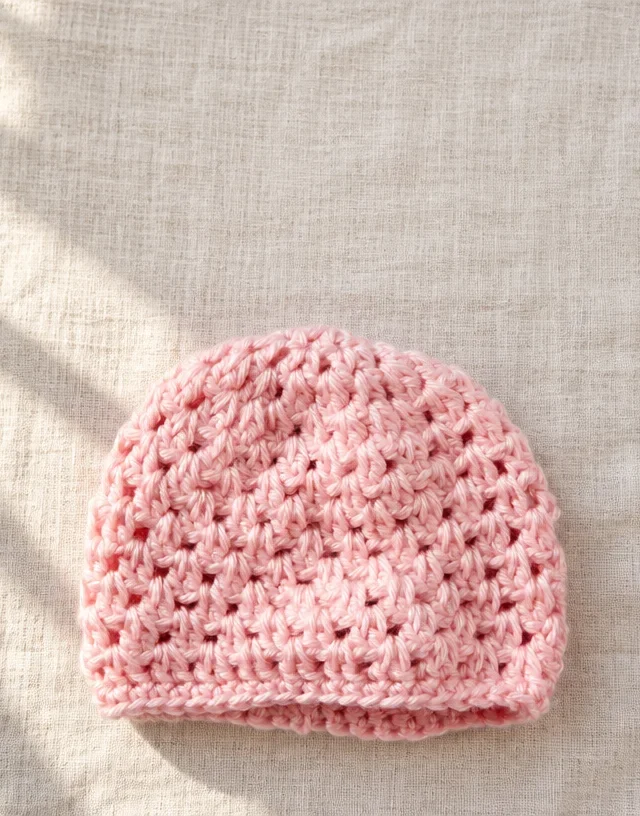
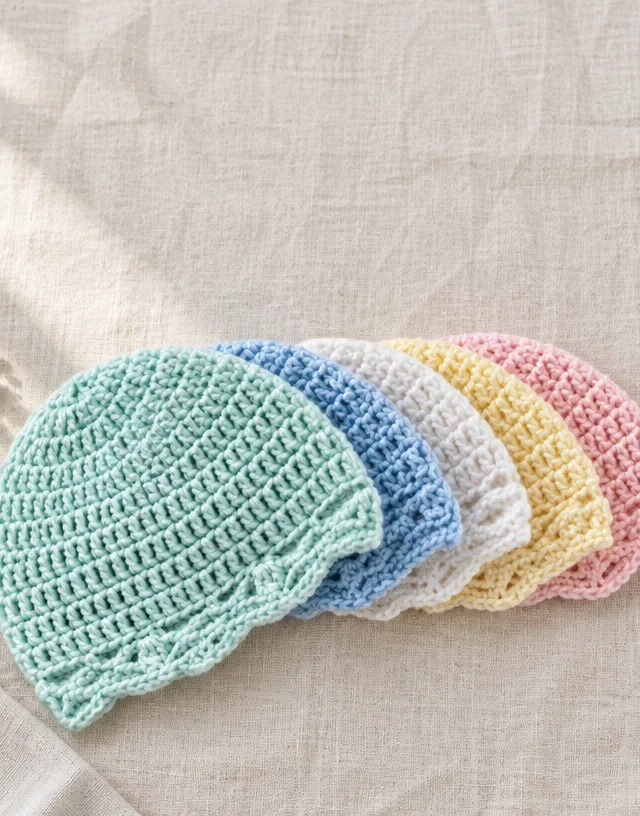
As a passionate crocheter, I often find joy in creating new items that not only showcase my skills but also serve as thoughtful gifts for others. One of my favorite projects is the Crochet Beginner Baby Bonnet Pattern. This adorable bonnet is the perfect beginner project, allowing you to practice fundamental stitches and techniques while crafting something truly special for a little one. Whether you’re preparing for a baby shower or simply want to make a sweet accessory, this pattern is both delightful and rewarding.
Reasons to Make This Project
You’ll absolutely love making this baby bonnet for several reasons:
- Beginner-Friendly: With straightforward stitches, this pattern is great for those new to crochet.
- Skill-Building: It introduces basic skills that every crocheter should master, making it a fantastic learning experience.
- Quick Completion Time: Most crocheters can finish this project in just a few hours, making it perfect for last-minute gifts.
- Handmade Appeal: Nothing compares to a handmade gift, especially when it comes to precious baby items.
- Gift Potential: Ideal for baby showers, this bonnet is a thoughtful way to show your love and support for new parents.
- Seasonal Versatility: You can easily adapt colors for any season or occasion, making it a fun and practical project.
"I made this baby bonnet for my friend’s newborn, and she absolutely loved it! The pattern was easy to follow, and the finished product was so adorable!" – A Happy Crocheter
How This Crochet Pattern Comes Together
In this project, you’ll create a charming baby bonnet that’s perfect for little ones aged 6 to 24 months. The pattern involves basic stitches, particularly focusing on the double crochet technique, which helps build your skill level while enjoying the crocheting process. Typically, you can complete this project in just a few hours, making it a gratifying endeavor for any crocheter.
Materials You’ll Need
To get started on your Crochet Beginner Baby Bonnet, you’ll need the following materials:
Version 1
- Bernat® Softee Baby™ (5 oz/140 g; 362 yds/331 m)
- Colors: Prettiest Pink (30205) OR Little Mouse (30010)
- Quantity: 1 ball
- Yardage usage:
- 6/12 mos: 76/70 yds/m
- 18/24 mos: 96/87 yds/m
- Note: 1 ball makes approx 5 (4) Bonnets.
Version 2
-
Bernat® Softee Baby Cotton™ (4.2 oz/120 g; 254 yds/232 m)
- Colors: Feather Gray (62010) OR Cotton (62009)
- Quantity: 1 ball
- Yardage usage:
- 6/12 mos: 67/61 yds/m
- 18/24 mos: 80/73 yds/m
- Note: 1 ball makes approx 4 (3) Bonnets.
-
Crochet Hook: Size U.S. G/6 (4 mm) or size needed to obtain gauge.
-
Button: 1 button, ½" [1.25 cm] in diameter.
When choosing your yarn, consider using soft fibers that are gentle on a baby’s delicate skin. Additionally, ensure you have a suitable working environment with all materials gathered before starting.
Step-by-Step Instructions
Follow these easy steps to make your adorable baby bonnet:
-
Back of Bonnet:
- Chain (ch) 4.
-
1st round:
- 8 double crochet (dc) in 4th ch from hook. Join with sl st to first dc (top of ch-3). (9 dc)
-
2nd round:
- Ch 3. 1 dc in same space as sl st. 2 dc in each dc around. Join. (18 dc)
-
3rd round:
- Ch 3. 2 dc in next dc. 1 dc in next dc. Repeat from * to last dc. 2 dc in last dc. Join. (27 dc)
-
4th round:
- Ch 3. 1 dc in next dc. 2 dc in next dc. 1 dc in each of next 2 dc. Repeat from * to last dc. 2 dc in last dc. Join. (36 dc)
-
5th round:
- Ch 3. 1 dc in each of next 2 dc. 2 dc in next dc. 1 dc in each of next 3 dc. Repeat from * to last dc. 2 dc in last dc. Join. (45 dc)
-
6th round:
- Ch 3. 1 dc in each of next 3 dc. 2 dc in next dc. 1 dc in each of next 4 dc. Repeat from * to last dc. 2 dc in last dc. Join. (54 dc)
-
For Size 18/24 mos only (7th round):
- Ch 3. 1 dc in each of next 4 dc. 2 dc in next dc. 1 dc in each of next 5 dc. Repeat from * to last dc. 2 dc in last dc. Join. (63 dc)
-
Both Sizes: Sides:
- 1st row: Ch 3. 1 dc in each of next 49 (59) dc. Turn. Leave remaining (rem) 4 (3) dc unworked. (50 (60) dc)
- 2nd to 10th rows: Ch 3. 1 dc in each dc to end of row. Turn. (50 (60) dc)
- 11th row (buttonhole row): Ch 12. 1 dc in 4th ch from hook (counts as 2 dc). Ch 1. Skip next ch (buttonhole made). 1 dc in each of next 7 ch. 1 dc in each dc to end of row. Fasten off. (59 (69) dc and 1 ch-1 sp)
-
Finishing:
- Sew button at front bottom corner of Bonnet to correspond to buttonhole strap.
Creative Ideas
Once your beautiful baby bonnet is complete, there are several ways to use or display your finished work:
- Baby Gifts: Pair this bonnet with a matching blanket or booties for a thoughtful gift.
- Photo Props: This bonnet makes a delightful accessory for baby photos.
- Themed Events: Use it for seasonal decorations or themed parties for young children.
- Craft Fairs: Consider selling your bonnets as unique handmade items at local markets.
How to Care for Your Crochet Project
Proper care ensures your crochet bonnet remains in beautiful condition. Here are some suggestions:
- Washing: Hand wash your creation in cold water with a mild detergent to prevent damage. Avoid bleach.
- Reshape: Gently reshape it while damp and lay it flat to dry. Do not wring or twist.
- Long-Term Storage: Store in a cool, dry place away from direct sunlight to avoid fading.
Helpful Crochet Tips
Here are some essential tips to ensure your crocheting experience is smooth and enjoyable:
- Maintain Even Tension: Practice keeping your yarn tension consistent to avoid uneven stitches.
- Count Your Stitches: Always count your stitches at the end of each round to avoid mistakes.
- Use Stitch Markers: These can help you keep track of your rounds and make joining easier.
- Check Your Size: Every few rounds, check that the size is correct by measuring it against the intended size.
Creative Variations
Feel free to personalize your baby bonnet with the following delightful variations:
- Different Yarn Colors: Experiment with various colors for a unique look.
- Contrasting Borders: Add a pop of color to the edges for extra flair.
- Embellishments: Consider adding simple embroidery or small appliqués for personalization.
- Size Adjustments: Modify it to create matching bonnets for siblings.
Just remember, any variations may impact the final size, drape, and yarn requirements, so adjust accordingly!
Frequently Asked Questions
-
Is this crochet pattern beginner-friendly?
- Yes, this pattern is designed specifically for beginners, featuring simple stitch techniques.
-
What yarn works best?
- Both Bernat® Softee Baby™ and Bernat® Softee Baby Cotton™ are excellent options, as they are soft and perfect for baby wear.
-
Can I use a different hook size?
- You can try using a different hook size, but it may affect the final size and look of the bonnet. It’s best to stick to the recommended size for best results.
-
How long does the project take?
- Most crocheters can complete this bonnet in a few hours, depending on their skill level and speed.
-
Can I sell finished items made from this pattern?
- Please check the original designer’s usage terms to confirm if selling is permitted.
By following this guide, you can confidently create a beautiful Crochet Beginner Baby Bonnet that will surely bring smiles to those around you! Happy crocheting!